 NeoBit Daily
Introduction to Miro 2026 for Remote Collaboration
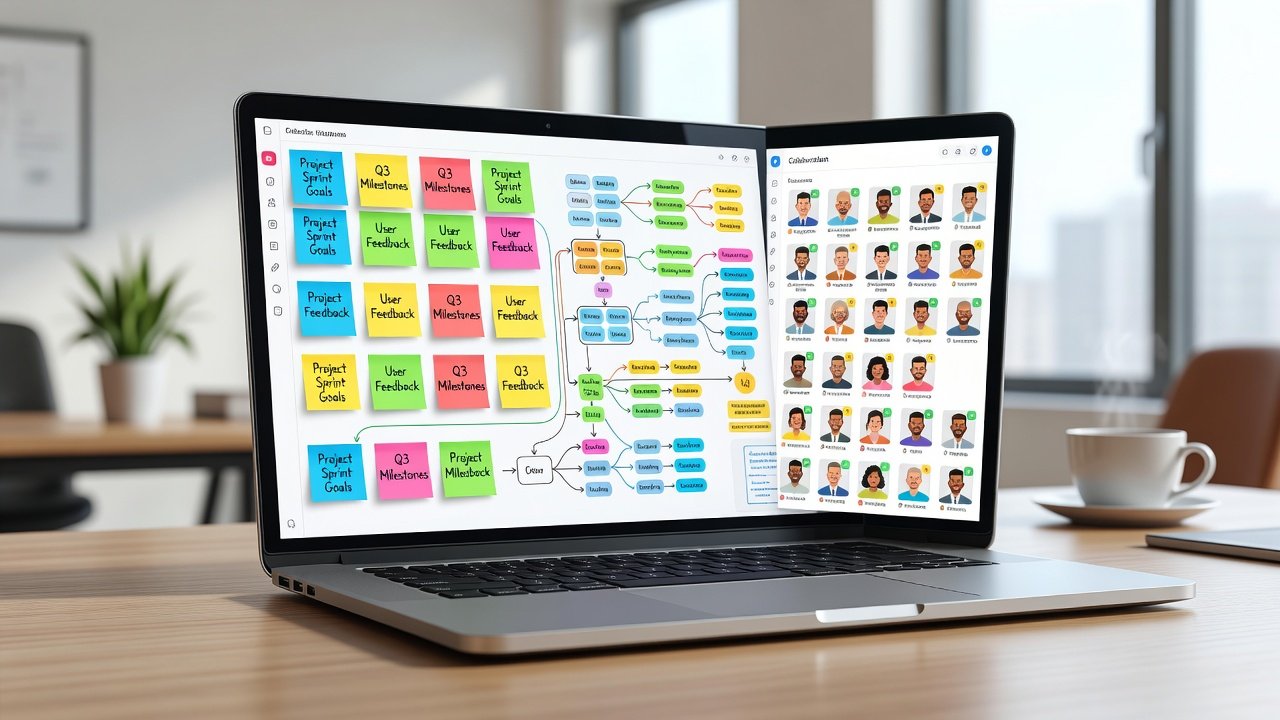
Miro has evolved into an essential platform for remote and hybrid teams in 2026, enabling seamless visual collaboration through infinite digital whiteboards. This comprehensive guide walks you through everything from account creation to advanced workshop facilitation, helping productivity-focused teams maximize efficiency. Whether you're new to the tool or looking to refine your workflows, Miro supports real-time editing, extensive template libraries, and deep integrations that streamline processes across distributed groups. Teams worldwide rely on its intuitive interface to replace traditional sticky notes and flip charts, fostering creativity and alignment without physical meetings.
The platform's strength lies in its flexibility for various use cases, from agile planning to design sprints. By mastering its features, remote teams can reduce meeting fatigue while improving output quality. This guide targets beginners to intermediates seeking actionable tutorials for productivity workflows.
Getting Started: Account Setup and First Board
Begin by visiting the official Miro website and signing up with your work email. The free tier allows unlimited boards for individuals, while teams often upgrade for advanced permissions and security controls. Verify your account through the confirmation email, then explore the dashboard to familiarize yourself with navigation. Once logged in, create your first board by clicking the "Create board" button. Name it descriptively, such as "Q3 Project Kickoff," and choose a template or start blank. Customize board settings like grid visibility and background color to match your team's preferences.
Invite collaborators via email or shareable links. Set permissions to control editing rights, ensuring sensitive project details remain secure. For larger teams, organize boards into projects or folders to maintain structure. Test basic interactions like zooming, panning, and commenting to build confidence before diving into complex features.
Exploring Template Libraries and Core Tools
Miro's template library offers hundreds of ready-made frameworks for brainstorming, retrospectives, and user journey mapping. Search for "Agile Sprint Planning" or "Design Thinking Workshop" to accelerate setup. Customize these by dragging elements onto the canvas and adapting them to your specific context. Templates save hours compared to building from scratch and ensure consistency across sessions.
Sticky notes are foundational: click the sticky note icon, type ideas, and color-code them for quick categorization. Resize, move, or cluster notes with the lasso tool for thematic grouping. Experiment with different sizes and fonts to highlight priorities. For diagramming, use shapes, arrows, connectors, and mind maps. The flowchart builder helps create process visualizations, while the pen tool supports freehand sketches. These tools enable precise, professional outputs without switching to external software.
Integrations with Slack, Jira, and Google Drive
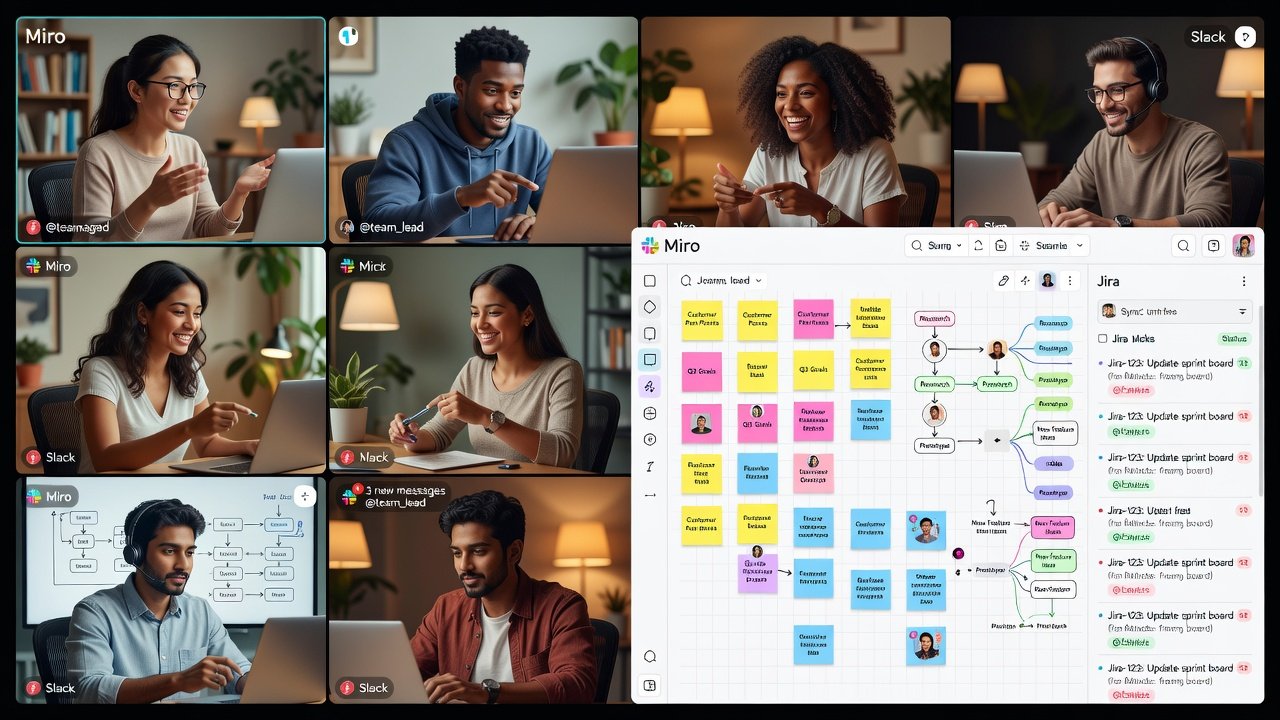
Seamless connections boost productivity by keeping workflows connected. Link your Miro board to Slack for instant notifications when comments or updates occur, allowing teams to discuss changes without leaving their chat environment. In Jira, embed boards directly into tickets for visual context alongside issue tracking, which helps engineering teams maintain alignment between tasks and visual plans.
Google Drive integration lets you attach files or embed documents live on the board via Google Drive. Sync changes automatically so everyone accesses the latest versions. These integrations reduce context switching and keep teams aligned. For Atlassian users, connect through Atlassian to pull Jira data into Miro frames dynamically.
Automation Tips for Effective Workshops
Automate repetitive tasks using Miro's built-in timers and voting features. Set a 5-minute timer for idea generation rounds, then use dot voting to prioritize items democratically. For advanced automation, connect with Zapier to trigger board creation from calendar events or form submissions. This reduces manual setup time before each session.
Schedule recurring workshops with pre-loaded templates and automated reminders via integrated calendars. Enable notifications for activity on specific frames so facilitators can guide discussions in real time. Teams report higher engagement when using these automations, as participants focus on content rather than logistics.
Comparisons: Miro vs Figma and Lucidchart
While Figma excels in UI/UX design with pixel-perfect vector tools, Miro offers broader whiteboarding versatility for non-design teams. Its infinite canvas supports open-ended ideation that Figma's more structured approach may limit. Lucidchart focuses on technical diagramming like ERDs and network maps, but Miro's collaboration depth and real-time features make it superior for workshops involving mixed skill levels.
Choose Miro when your needs center on ideation and real-time group input rather than specialized design or engineering diagrams. Many teams use Miro alongside these tools, importing Lucidchart diagrams or Figma prototypes into boards for combined reviews.
Real-World Team Use Cases
- Marketing teams use Miro for campaign brainstorming and content calendars, clustering ideas visually before execution and assigning owners directly on the board.
- Engineering squads conduct sprint retrospectives with anonymous feedback boards, improving psychological safety and surfacing actionable improvements quickly.
- HR departments facilitate onboarding with interactive org charts and training timelines embedded from Google Drive, helping new hires visualize their role within the company structure.
- Product teams map user journeys collaboratively, incorporating stakeholder feedback in one shared space to accelerate decision-making.
These examples demonstrate Miro's adaptability across industries for enhanced remote engagement.
Best Practices and Mistakes to Avoid
Follow best practices such as starting sessions with a clear agenda frame and ending with action item summaries. Encourage all participants to contribute by using anonymous modes where appropriate. Avoid overcrowding boards by using frames to segment topics and archiving old content regularly.
Common pitfalls include neglecting permissions, which can lead to accidental edits, or skipping template customization, resulting in generic outputs. Always test integrations before critical workshops and provide brief training for new users to maximize adoption.
FAQ: Common Pitfalls and Solutions
How do I handle large boards slowing down? Organize content into frames and use the navigator panel to zoom efficiently. Export sections as needed for focused reviews.
Can I export boards for offline review? Yes, export as PDF, PNG, or CSV for stakeholder sharing without requiring an account.
What if team members lack accounts? Guest access allows viewing and limited editing without full sign-up, ideal for external partners.
How to manage version history? Miro automatically saves versions; restore previous states from the activity panel to recover from errors.
Are there limits on collaborators per board? Free plans support up to certain numbers, while paid plans scale for enterprise use with enhanced controls.
Conclusion
Mastering Miro 2026 transforms how remote teams collaborate on whiteboards and workshops. By following these steps—from setup to integrations and automation—you'll create more engaging, productive sessions that drive results. Start experimenting today to unlock the platform's full potential and build lasting collaborative habits.
No comments yet. Be the first!