 NeoBit Daily
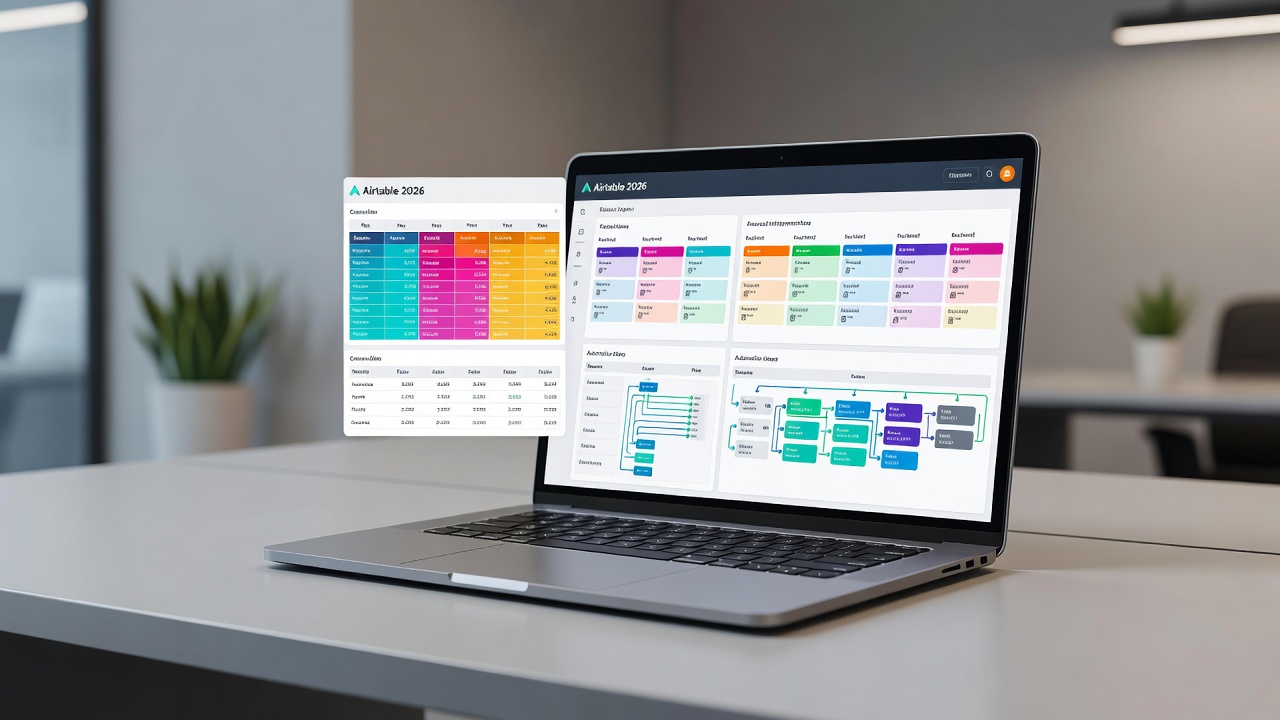
Introduction to Airtable for Modern Data Management
Airtable has evolved into a powerful hybrid platform that combines the flexibility of spreadsheets with the structure of databases. In 2026, users rely on it for everything from personal task tracking to complex team workflows. This guide walks beginners through intermediates on creating bases, customizing views, writing formulas, and setting up automations while highlighting efficiency gains over traditional tools.
Unlike rigid spreadsheets, Airtable lets you link records across tables, attach files, and trigger actions automatically. Real-world users report significant time savings by replacing multiple disconnected spreadsheets with a single, connected base. Whether you are organizing a personal project or managing a growing team, understanding Airtable’s core capabilities can transform how you handle data.
Airtable vs Spreadsheets: Key Differences and When to Switch
Traditional spreadsheets like Google Sheets or Excel excel at simple calculations but struggle with relational data. Airtable addresses these limitations through linked records, multiple view types, and built-in automations. For example, a project manager can link tasks to team members and automatically notify stakeholders when deadlines approach, something that requires complex scripts in spreadsheets.
Key advantages include relational linking that reduces duplication and errors, rich field types that support attachments, dropdowns, and checkboxes natively, and views that provide filtered, sorted perspectives without altering underlying data. Many teams find that migrating from spreadsheets to Airtable cuts administrative overhead by centralizing information and eliminating version conflicts.
- Relational linking reduces duplication and errors
- Rich field types support attachments, dropdowns, and checkboxes natively
- Views provide filtered, sorted perspectives without altering underlying data
- Built-in automations replace manual repetitive work
Navigating the Airtable Interface in Detail
Upon logging in, users see the home workspace containing all bases. The left sidebar shows bases, shared workspaces, and templates. Clicking a base opens the main grid view with tables listed at the top. Familiarize yourself with the toolbar for adding fields, filtering records, and accessing extensions. The right sidebar displays record details when a row is selected, while the top menu offers options for sharing, comments, and activity history. Keyboard shortcuts such as pressing “/” to open the command bar speed up navigation for frequent users.
Creating Your First Base and Tables: Step-by-Step
Start by clicking the “Create a base” button and choose a template or begin from scratch. Name your base and add tables for core entities such as Projects, Tasks, and Team Members. Each table begins with a primary field (usually a name or ID). Add new fields via the “+” icon and select appropriate types like single-line text, date, or attachment. For a project management base, create a Projects table with fields for start date, status, and budget, then link it to a separate Tasks table so each task can reference its parent project.
Importing data from existing spreadsheets is straightforward: upload a CSV file and map columns to field types during the import wizard. After import, review field types and add any missing relational links to unlock Airtable’s full potential.
Customizing Views for Better Insights and Team Collaboration
Airtable supports grid, calendar, kanban, gallery, and timeline views. Create a calendar view to visualize due dates or a kanban view for workflow stages. Use filters to show only records matching criteria, such as tasks assigned to a specific person. Group records by status to spot bottlenecks quickly. Share specific views with stakeholders while keeping the underlying data secure through permission settings.
Advanced users often create multiple views for the same table: one for executives showing high-level summaries and another for team members with detailed task assignments. Color coding and conditional formatting further improve readability and help teams quickly identify priorities.
Implementing Formulas for Smart Data Handling
Formulas power dynamic calculations. The formula field supports functions similar to spreadsheets but with Airtable-specific syntax. For instance, use DATETIME_DIFF to calculate days between dates or CONCATENATE to combine text fields. Test formulas in a dedicated field before applying them to production data. A practical example is a formula that calculates remaining project budget by subtracting spent amounts from the total allocation, updating automatically whenever expense records change.
Another useful formula combines project name and due date into a single display field for quick reference in calendar views. Experiment with nested IF statements to create status indicators that change color based on completion percentage.
Setting Up Automation Rules with Precision
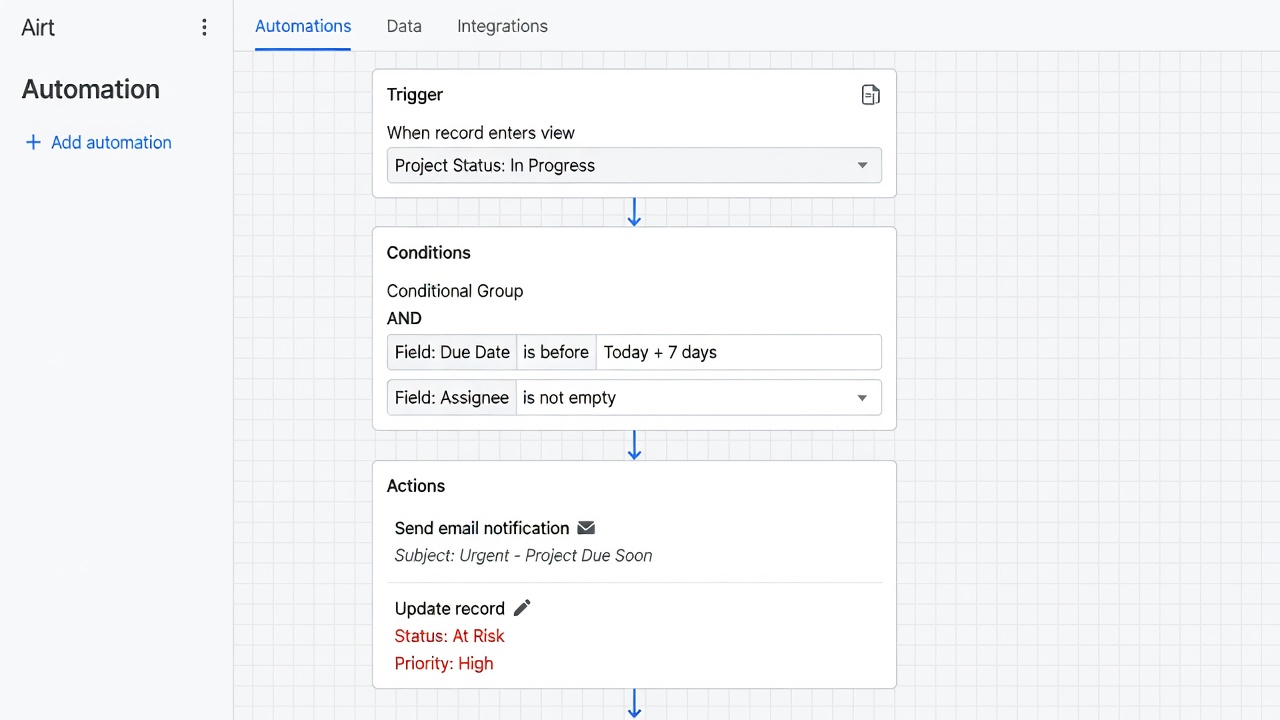
Automations replace manual repetitive tasks. Navigate to the Automations tab and create a new rule. Choose a trigger such as “When record matches conditions” then add actions like “Send email” or “Update record.” Common use cases include notifying team members of new assignments and syncing data with external tools. Build conditions carefully to avoid unnecessary triggers, and test each automation in a staging base before enabling it on live data.
For example, an automation can watch for tasks marked “Overdue” and post a summary message to a dedicated Slack channel. You can also chain multiple actions, such as updating a record and simultaneously creating a follow-up task in another table.
Integrations with Other Tools and Platforms
Connect Airtable to hundreds of apps via native integrations or Airtable’s official platform. Popular connections include Slack for notifications, Google Calendar for scheduling, and Zapier for broader workflows. These integrations turn Airtable into a central hub for cross-platform productivity. Advanced users also leverage the Airtable API to build custom scripts that push or pull data on scheduled intervals.
Practical Examples and Real-User Case Studies
A marketing team uses Airtable to manage campaign assets. They link creative files to campaign records, track approval status, and automate weekly status reports. A freelance consultant maintains a client database that automatically generates invoices when project milestones are marked complete. An event planning company tracks vendor contracts, venue availability, and attendee registrations in one connected base, reducing double-entry and last-minute surprises. These examples demonstrate measurable efficiency gains through reduced context switching and fewer manual updates.
Troubleshooting Common Issues and Best Practices
If automations fail, check trigger conditions and permission settings. Formula errors often stem from mismatched field types. Review Airtable’s status page for platform-wide incidents and consult community forums for peer solutions. Best practices include documenting field purposes with comments, backing up critical bases regularly, and limiting view complexity to maintain performance as record counts grow.
FAQ
How do I share a base with teammates? Use the Share button and invite collaborators with appropriate permission levels.
Can I import existing spreadsheet data? Yes, upload CSV files directly into a new or existing table.
Are there limits on record count? Limits vary by plan; review current documentation for details.
What happens if an automation loops? Add conditions to prevent infinite triggers and test thoroughly before enabling.
How can I restore a previous version of a base? Use the activity log and restore feature available in workspace settings.
No comments yet. Be the first!