 NeoBit Daily
Introduction: Why Wearable Accuracy Matters for Serious Cyclists
In 2026, cyclists depend heavily on wearable technology to deliver precise metrics that guide training intensity, recovery planning, and route optimization. Inaccurate heart rate, GPS, power, or elevation data can result in suboptimal performance gains or even safety risks during demanding rides. This comprehensive guide builds on established fitness tracking accuracy methods but shifts focus specifically to cycling scenarios, offering detailed step-by-step protocols for testing popular devices such as Garmin and Coros models. Serious cyclists seeking reliable data verification will find practical value in the real-world examples drawn from urban commutes and long-distance endurance rides, along with side-by-side comparisons and strategies to avoid common pitfalls. By the end of this article you will have actionable testing frameworks plus a printable checklist to maintain high standards of data integrity throughout the season.
Preparing Your Testing Setup for Reliable Results
Effective accuracy testing begins with thorough preparation to eliminate variables that could skew outcomes. Start by updating your wearable firmware to the most recent version available through the manufacturer app, as these updates frequently refine sensor algorithms and improve baseline performance. Next, ensure proper pairing with your smartphone or bike computer and verify that all external sensors, such as chest straps or power meters, are calibrated according to official instructions. Select test routes that you can repeat under similar conditions, including factors like time of day, temperature, and traffic levels. It is also wise to wear the device consistently for several days prior to formal testing so that optical heart rate sensors can adapt to your skin tone and movement patterns. Finally, prepare a secondary reference tool, whether another trusted wearable or a dedicated cycling computer, to provide comparative data points during each session.
Step-by-Step Field Tests for Heart Rate Accuracy
Heart rate remains one of the most critical metrics for cyclists training in specific zones. Begin your protocol with a snug fit on the wrist or a correctly positioned chest strap. Warm up for ten minutes at an easy pace, then progress through structured intervals: five minutes easy, five minutes moderate, five minutes hard, and five minutes at threshold effort. Record readings at one-minute intervals and compare them against your reference device during steady-state portions of the ride. For urban testing, repeat the sequence on a familiar city loop while noting any motion artifacts caused by rough pavement. Long-ride examples include monitoring heart rate drift over three-hour efforts where dehydration or fatigue might influence optical sensor performance. Garmin devices typically demonstrate strong consistency in optical readings during varied intensities, whereas Coros excels in maintaining stable data across extended battery sessions.
GPS Route Accuracy Testing Protocols
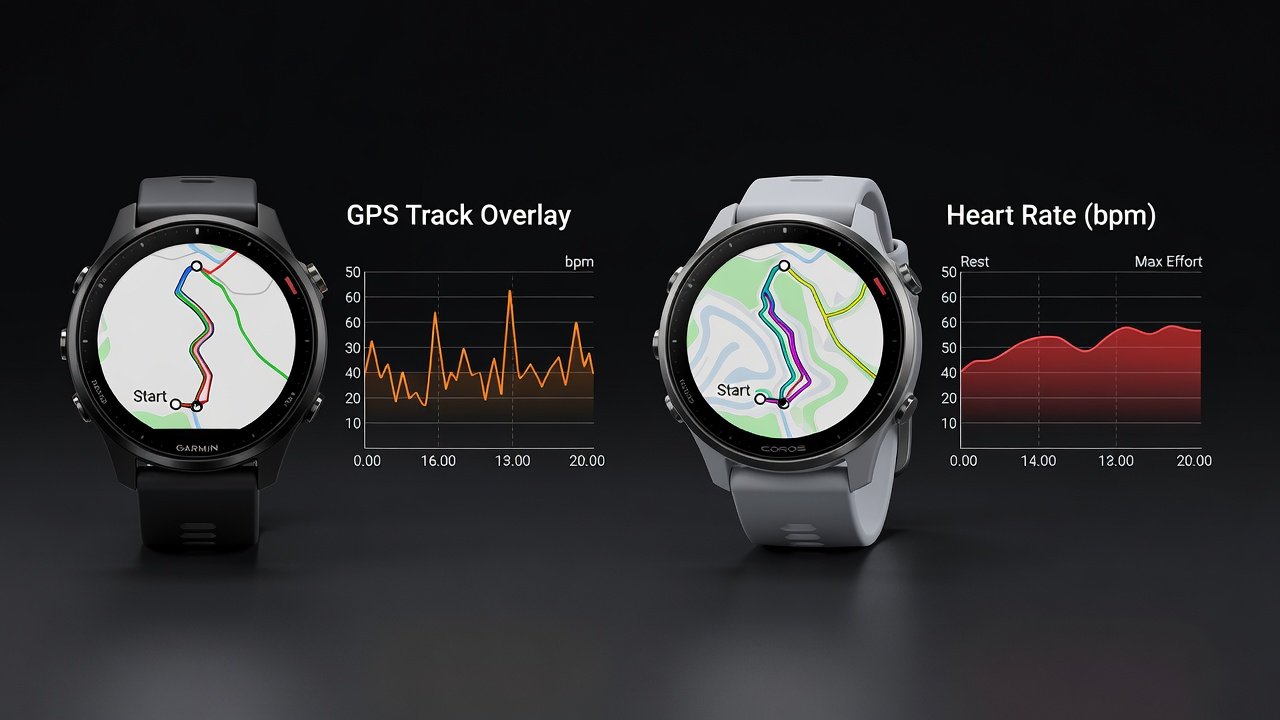
Precise GPS tracking prevents navigation errors and ensures accurate distance and pace calculations. Choose a pre-mapped route that includes both open countryside and dense urban sections with tall buildings. Record the track using your wearable while simultaneously logging the same path with a mapping application on your phone. After the ride, overlay the GPX files and measure deviations at key landmarks such as intersections or tunnels. In real-world urban commutes, cyclists often observe drift near skyscrapers; repeating the commute three times and averaging results provides a clearer picture of device reliability. On longer rural rides exceeding 80 kilometers, pay attention to how multi-band GPS modes handle elevation changes and tree cover. Consistent testing under different satellite conditions reveals whether your device maintains lock throughout varied terrain.
Garmin official site provides additional guidance on enabling advanced GPS features for improved route fidelity.
Power Output Verification Methods
Power data drives objective training decisions, making verification essential. Perform a series of ramp tests or steady-state intervals on a flat stretch of road while comparing your wearable's output against a calibrated crank-based power meter. Record average watts over multiple five-minute efforts and calculate percentage differences. Real-world examples show that rapid accelerations during group rides can expose lag in some wrist-based systems, whereas sustained climbs highlight endurance accuracy. Side-by-side evaluations indicate Coros often matches well during prolonged steady efforts, while Garmin responds more quickly to sudden changes in cadence and force application.
Elevation and Climb Accuracy Checks
Elevation metrics influence training load scores and virtual elevation calculations. Test on a hill with a known height by comparing barometric sensor readings against topographic maps or government survey data. Conduct the climb several times in different weather to observe how pressure changes affect results. On long rides, cumulative elevation gain errors can compound, so cross-reference total ascent figures with route planning software after each outing.
Side-by-Side Device Comparisons: Garmin vs Coros
Garmin's extensive ecosystem supports seamless integration with third-party platforms and offers granular customization for data fields. Coros prioritizes long battery life and straightforward interfaces, making it particularly suitable for multi-day tours. In 2026 comparative field tests, both brands achieve high accuracy levels when protocols are followed consistently, yet factors such as wrist placement, strap tension, and firmware version can introduce variability. Cyclists who value detailed analytics often lean toward Garmin, while those focused on ultra-endurance prefer Coros for uninterrupted tracking.
Real-World Examples from Urban Commutes and Long Rides
Consider a daily 12-kilometer urban commute through mixed residential and commercial zones. Testing revealed that one device consistently underreported distance by 3 percent near a cluster of high-rises, prompting the rider to enable multi-band mode and improve accuracy on subsequent trips. On a 160-kilometer weekend ride with 2,000 meters of climbing, another cyclist documented heart rate drift after the four-hour mark and adjusted strap positioning to restore reliable readings. These examples illustrate how environmental factors and ride duration interact with device limitations, underscoring the need for repeated testing across seasons and conditions.
Common Pitfalls to Avoid
- Loose strap placement frequently causes intermittent heart rate dropouts, especially during high-cadence efforts; always verify tension before each ride.
- Skipping firmware updates leaves older sensor algorithms in place that may not account for recent improvements in motion filtering.
- Testing only once under ideal conditions fails to expose weaknesses that appear in heat, cold, or variable satellite visibility.
- Neglecting to average multiple sessions leads to overreaction to isolated anomalies rather than identifying true performance trends.
- Ignoring environmental calibration, such as setting the altimeter at a known elevation point, introduces systematic elevation errors on hilly routes.
Analyzing Your Test Data for Continuous Improvement
After each testing session, export raw data files and use spreadsheet tools or dedicated cycling software to calculate metrics such as mean absolute percentage error. Plot heart rate and power traces on the same graph to visually identify lag or offset patterns. Over time, maintain a testing log that records date, route, weather, and device settings so you can correlate accuracy changes with firmware releases or hardware adjustments.
Troubleshooting FAQ
Why does my HR reading spike randomly during rides?
Check strap tightness, clean the sensor area, restart the device, and re-pair any external sensors to restore stable contact.
How do I fix GPS drift on routes with tall buildings?
Enable multi-band or dual-frequency GPS modes at the start of the ride and allow the device a full satellite lock before beginning movement.
Are elevation errors common on wearables during changing weather?
Yes, barometric sensors are sensitive to pressure shifts; manually calibrate at known points and cross-reference with topographic data for best results.
What should I do if power readings diverge significantly from my crank meter?
Verify zero-offset procedures, ensure crank and wearable firmware versions match, and repeat tests across several days to confirm the discrepancy.
Printable Testing Checklist
- Update firmware on wearable and connected sensors before every major test day
- Calibrate altimeter and power meter at a known reference point
- Select and pre-ride the test route to confirm repeatability
- Log baseline data from reference device alongside primary wearable
- Perform at least three repeated sessions under similar conditions
- Analyze results in post-ride software and calculate error percentages
- Document anomalies including weather, route, and device settings
- Repeat full protocol monthly or after any firmware update
- Store checklist and results log in a dedicated notebook or digital folder
By implementing these expanded protocols and regularly revisiting the checklist, cyclists can maintain confidence in their wearable data throughout 2026 and beyond. Visit Coros for model-specific calibration guides, and explore community resources on platforms like Strava to compare testing experiences with fellow riders.

No comments yet. Be the first!