 NeoBit Daily
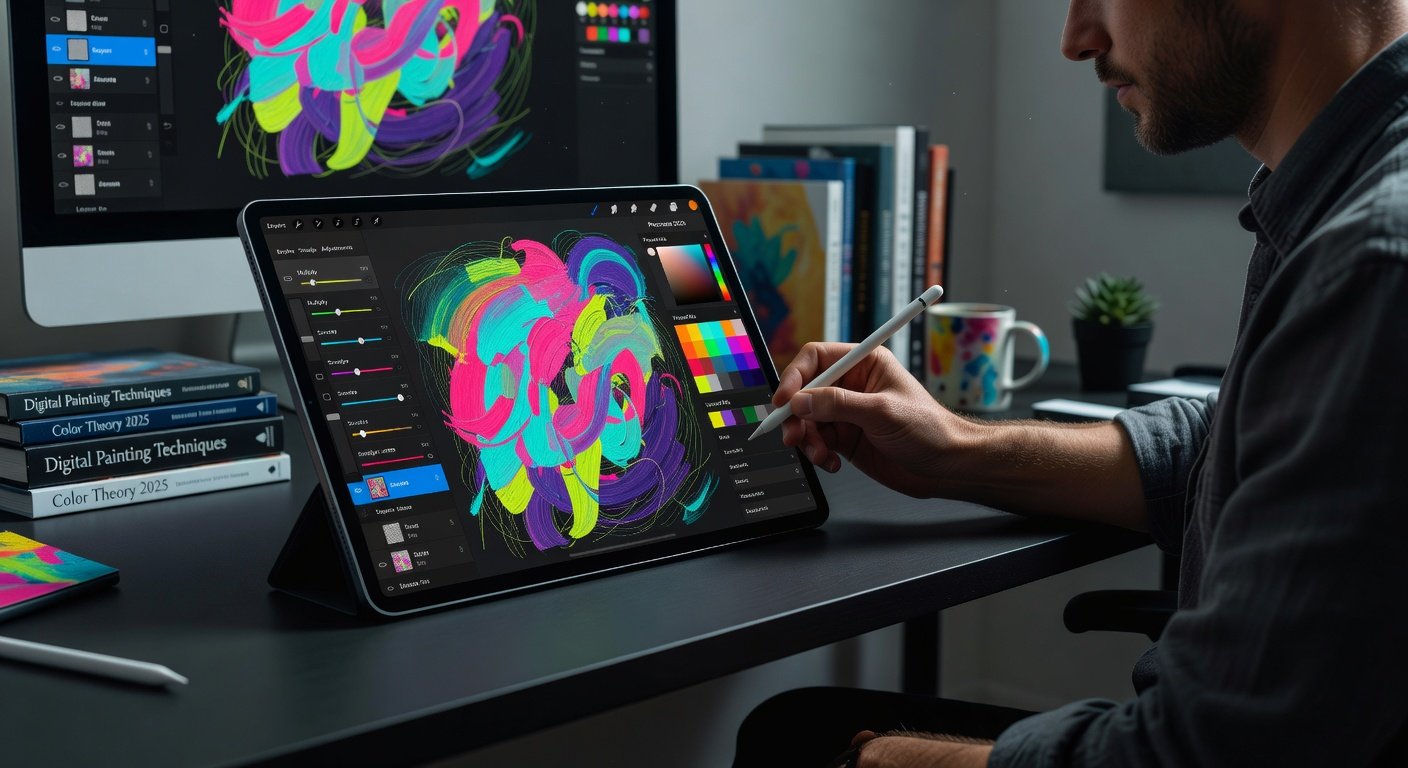
Introduction to Procreate 2026 Advanced Features
Intermediate digital artists searching for pro-level app tutorials on iPad illustration will discover that Procreate 2026 delivers an impressive suite of tools designed for precision and efficiency. This comprehensive guide explores brush customization, layer blending modes, animation features, time-lapse export strategies, texture creation methods, and sophisticated color palette management. Through detailed step-by-step workflows drawn from real-world projects, artists can progress from competent users to experts who produce gallery-ready illustrations.
The 2026 version builds on previous iterations with refined performance optimizations that handle complex files without lag. Whether you are refining character designs, environmental concepts, or abstract compositions, these techniques provide practical advantages over competing software. Comparisons with Adobe Fresco highlight Procreate's strengths in native iPad optimization and customizable workflows.
Brush Customization: Building Signature Tools from Scratch
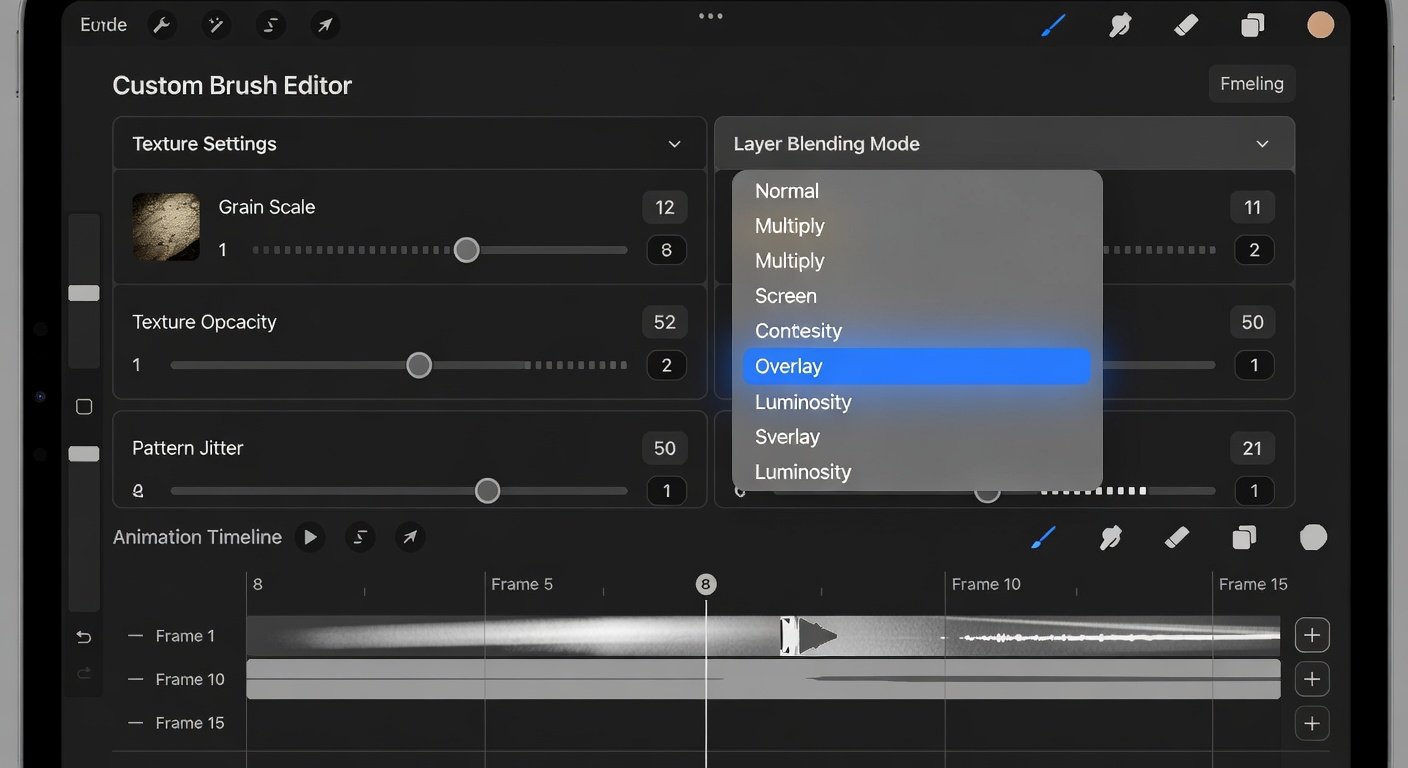
Brush customization stands at the core of advanced illustration. Instead of relying on defaults, artists duplicate base brushes and modify parameters such as spacing, scatter, and dynamics to achieve unique marks. For instance, a custom dry media brush might combine increased grain intensity with reduced flow for authentic pencil textures on digital paper.
Detailed workflow begins in the Brush Studio: select a starting brush, adjust the shape source by importing personal scans, then fine-tune taper and pressure curves for natural variation. A second example involves creating foliage brushes for landscape art by layering multiple jitter settings and testing on separate layers before finalizing. This process often reveals how small tweaks to stabilization can eliminate unwanted wobble during long strokes.
Real project application: A freelance illustrator developing a series of botanical studies customized eight brushes over two days, resulting in consistent line quality across 40 finished pieces. In contrast, Adobe Fresco offers solid brush options but provides fewer granular controls for grain and dynamics, making Procreate preferable for artists who value total ownership of their toolkit. Visit the official Procreate site to review the latest brush engine documentation.
Mastering Layer Blending Modes for Depth and Realism
Layer blending modes unlock sophisticated lighting and texture integration. Common choices include Multiply for building shadows, Screen for highlights, and Soft Light for subtle color shifts. Advanced users combine modes across grouped layers to simulate atmospheric perspective or metallic sheens.
Step-by-step: Create a base illustration layer, duplicate it, apply Color Burn at 40% opacity for dramatic contrast, then mask areas selectively using the selection tools. In a recent portrait project, an artist layered three blending modes to merge skin tones with fabric textures, achieving photorealistic results without external references. Another technique involves using Luminosity mode for non-destructive color grading on separate adjustment layers.
Compared with Adobe Fresco, Procreate's blending interface offers live previews tied directly to Apple Pencil pressure, allowing faster iteration. Artists should test combinations systematically by creating a dedicated test canvas for experimentation.
Animation Features with Frame-by-Frame Control
Procreate 2026 animation tools support both simple loops and complex sequences through intuitive timeline management. Users convert layer stacks into frames, adjust duration per frame, and preview with adjustable onion skin opacity for precise alignment.
Practical workflow: Sketch key poses on individual layers, enable animation assist, then duplicate and modify frames for motion arcs. Exporting finished animations requires selecting appropriate frame rates to maintain smooth playback on various devices.
Time-Lapse Export Strategies and Best Practices
Time-lapse recording captures the creative process automatically. To optimize exports, artists enable the feature in settings before starting, then trim excess footage in the export dialog. Recommended settings include 1080p resolution at 30 frames per second to balance quality and file size.
Example from practice: A concept artist preparing a client reel recorded a 45-minute session and edited it down to a 90-second highlight reel by removing idle moments. This approach adds professional polish when sharing process videos on portfolios.
Advanced Texture Creation Techniques
Texture creation extends beyond simple filters. One method involves painting base patterns on new layers, applying Gaussian noise, then converting the result into a custom brush via the library import function. Multiple passes with different blend modes can produce complex surfaces such as aged paper or metallic gradients.
Further steps include using the Liquify tool for organic distortion and saving variants for reuse across projects. In an architectural visualization series, custom textures applied via clipping masks added realistic material depth that elevated the final renders.
Color Palette Management and Harmony Tools
Effective color management starts with sampling from reference imagery using the eyedropper, then organizing swatches into themed palettes. Procreate's harmony features suggest complementary colors based on selected hues, streamlining the decision process during blocking stages.
Expanded workflow: Import a mood board photo, extract dominant tones, adjust saturation curves, and lock palettes to prevent accidental changes. This method proved invaluable in a packaging design project where brand consistency across multiple illustrations was mandatory.
Beginner-to-Advanced Progression Checklist
- Beginner: Practice basic brush selection, simple layer grouping, and single-mode blending.
- Intermediate: Customize at least five brushes, master four blending modes, and complete one short animation.
- Advanced: Develop reusable texture libraries, manage multi-project color systems, and export polished time-lapse videos.
- Pro level: Integrate cross-app comparisons with Adobe Fresco, optimize performance for large canvases, and refine export pipelines for client delivery.
Detailed Comparison with Adobe Fresco
Adobe Fresco provides strong raster-vector integration and cloud syncing within the Adobe ecosystem. However, Procreate excels in raw speed on iPad hardware and offers deeper animation controls without subscription requirements. Artists migrating between apps should test identical projects to evaluate brush feel and export flexibility.
Performance Optimization and Common Pitfalls
To avoid slowdowns, regularly merge layers and reduce canvas resolution during early stages. Performance issues often stem from excessive undo history or unoptimized brushes; clearing caches resolves most temporary glitches. Always back up files via iCloud before major edits.
FAQ: Export and Performance Troubleshooting
Q: Exports fail with memory warnings? A: Lower export resolution or split the project into smaller files before final rendering.
Q: Animation playback stutters on older iPads? A: Reduce frame count and disable high-quality previews during editing sessions.
Q: How to maintain color accuracy across devices? A: Use Procreate's color profile settings and test exports on multiple screens before delivery.
Q: Time-lapse files too large for sharing? A: Compress via external tools after export or shorten recording duration.
Implementing these advanced techniques consistently will transform your Procreate 2026 experience into a powerful creative advantage.
No comments yet. Be the first!