 NeoBit Daily
Introduction to Canva in 2026
Canva continues to dominate as an accessible yet powerful design platform for users ranging from complete beginners to seasoned marketing professionals. In 2026, updates have focused heavily on AI integration, making it easier than ever to produce polished visuals without extensive design training. This comprehensive tutorial walks you through establishing a professional Brand Kit, utilizing advanced AI features for efficient creation of layouts and written content, customizing templates effectively, collaborating with teams, and exporting files optimized for various platforms including social media and print materials.
The goal is to help you streamline your entire graphic design workflow. By following these steps, you will reduce repetitive tasks and ensure every asset aligns with your brand identity. Real examples throughout demonstrate how these tools apply to everyday projects like social campaigns or promotional print materials.
Setting Up Your Professional Brand Kit
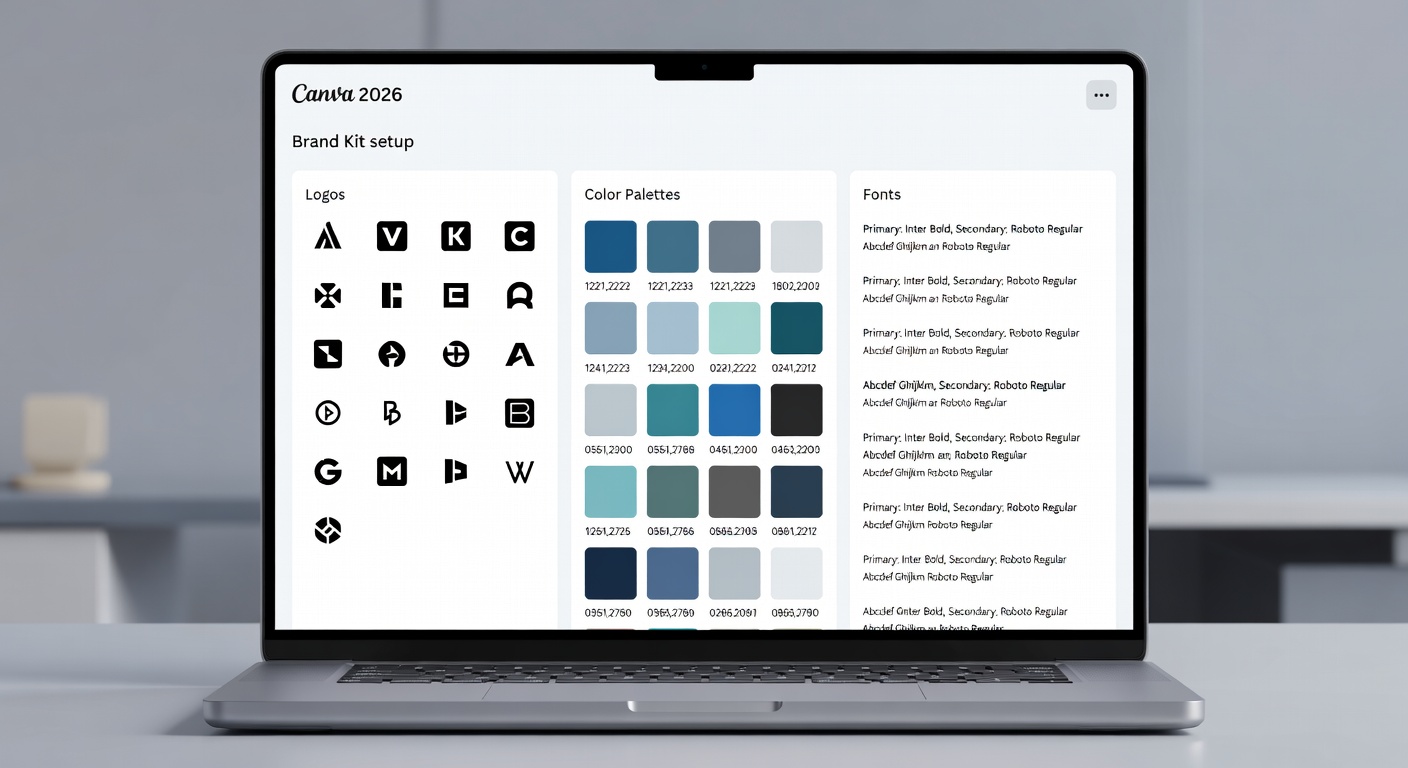
Creating a Brand Kit serves as the cornerstone for maintaining visual consistency across all your designs. Begin by accessing the Brand section from your main Canva dashboard on desktop for the most complete interface. Upload multiple versions of your logo, including transparent PNGs for versatile use and vector SVGs for scalability without quality loss.
Define your color scheme by entering precise hex codes or using the color picker tool to sample from existing brand materials. Include primary, secondary, and neutral tones along with accent shades. For typography, upload licensed fonts or select from Canva's library while ensuring they reflect your brand voice—serif for traditional feels or sans-serif for modern aesthetics.
Teams benefit from sharing the Brand Kit with specific permission levels, allowing members to apply elements without altering the core settings. This prevents drift in branding over time. Consider creating separate kits for different product lines if your business operates across multiple niches. Test the kit by applying it to a sample project immediately after setup to verify everything renders correctly on both web and mobile views.
Explore additional resources at Canva's official website for any platform-specific nuances.
Leveraging AI Tools for Layouts and Copy
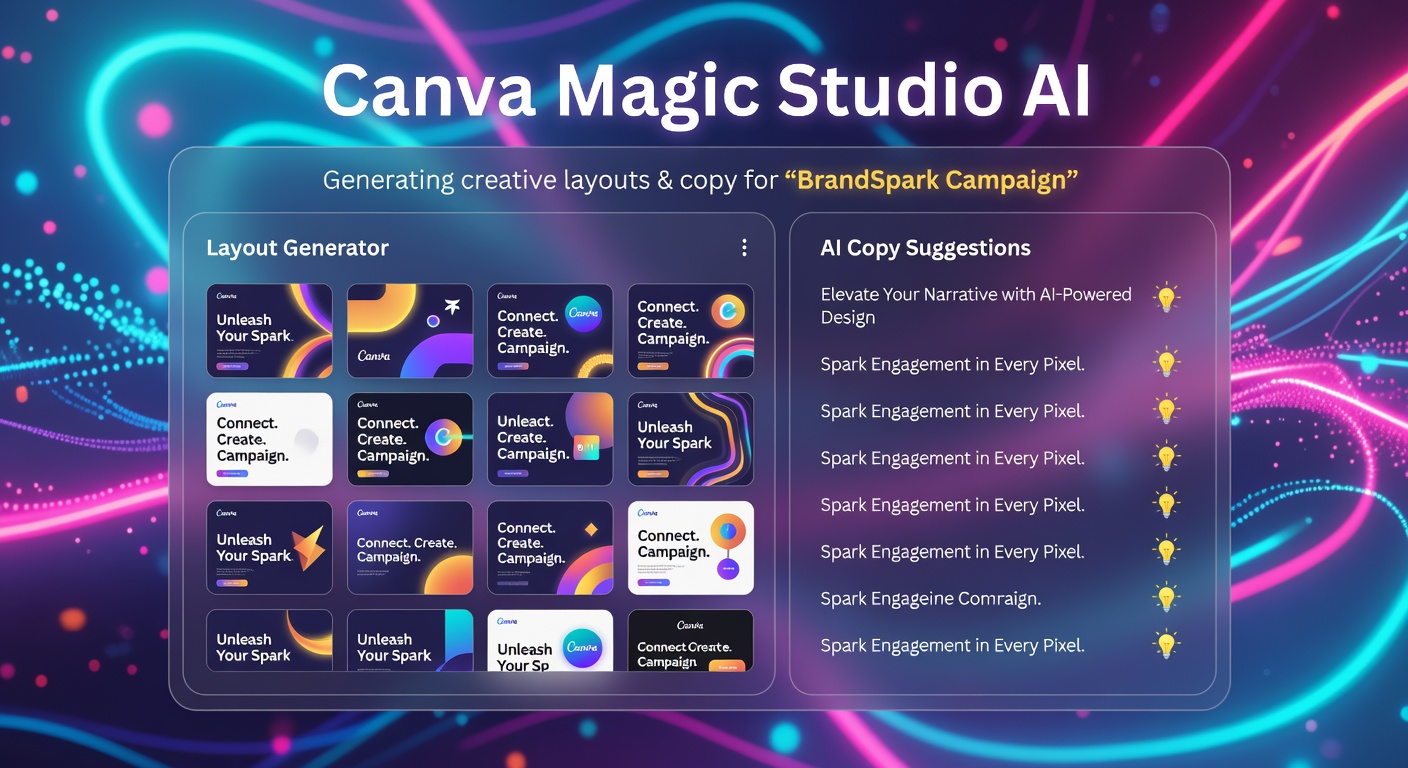
Canva's Magic Studio suite provides sophisticated AI assistance that goes far beyond basic suggestions. Magic Design generates multiple layout options from a text prompt, such as "vibrant eco-friendly product launch graphic for Instagram stories." Review the outputs and refine them by adjusting elements like spacing or icon placement.
Magic Write excels at producing tailored copy, including taglines, descriptions, and even full email sequences. Input context like target audience demographics and tone preferences to receive relevant suggestions. Combine this with Magic Edit for seamless image modifications, such as removing backgrounds or altering object colors to match your palette.
A detailed example involves planning a quarterly marketing campaign: Start with an AI-generated mood board, then use Magic Morph to create animated versions for video posts. Users report saving significant time on ideation phases, allowing focus on strategy rather than execution details. Always review AI outputs for accuracy and brand alignment before finalizing.
Step-by-Step Template Customization
Canva offers thousands of pre-designed templates across categories. Search using keywords relevant to your project and industry, then duplicate your chosen template to preserve the original. Apply your Brand Kit instantly via the dedicated apply button, which swaps in logos, colors, and fonts automatically.
Customize further by ungrouping elements to reposition or resize them individually. Use alignment tools and grids for professional results. For recurring needs, save customized versions as new templates within your account for quick access later.
Practical scenario: Adapting a presentation template for client pitches involves replacing stock photos with branded imagery and adjusting text hierarchy for readability on large screens. Experiment with layers and transparency effects to add depth without overwhelming the design.
Collaboration Features for Teams
Real-time collaboration stands out as a major strength. Share projects with granular controls—edit access for core team members and comment-only for stakeholders. The integrated commenting system supports threaded discussions tied directly to specific design elements.
Version history provides a safety net for iterative work, enabling quick rollbacks if changes go awry. Integrate external storage like cloud drives to keep assets centralized. For larger groups, organize designs into shared folders with consistent naming conventions to avoid confusion during busy periods.
Exporting Optimized Assets for Social and Print
Proper export settings ensure your designs perform well in their final environments. Social media posts typically require square or vertical formats in PNG or JPG at high pixel dimensions for crisp display on retina screens. Enable compression options to reduce file sizes without noticeable quality drops.
For print, select PDF Print format and activate bleed and crop marks where necessary. Verify color profiles match printer requirements, often CMYK for accurate reproduction. Always generate previews and test prints on sample stock before full production runs.
Address common resolution problems by starting with high-quality source images and avoiding excessive scaling up within designs. Batch export multiple pages or variations when preparing campaign assets to maintain efficiency.
Free vs Pro Features Comparison
| Feature | Free Plan | Pro Plan |
|---|---|---|
| Brand Kit | Limited to one kit with basic elements | Unlimited kits including advanced sharing and custom fonts |
| AI Tools | Restricted Magic Studio prompts and generations | Unlimited access with priority processing and more creative options |
| Exports | Standard file formats and lower maximum resolutions | Premium formats, transparent backgrounds, and high-fidelity outputs |
| Collaboration | Basic sharing with limited participant numbers | Advanced permissions, folders, and real-time team analytics |
| Storage and Assets | Core library access only | Expanded premium elements and offline capabilities |
Quick-Start Checklist
- Log into Canva and locate the Brand section to begin setup
- Upload all core brand assets including multiple logo variants
- Input exact color values and approved typography selections
- Share the kit with relevant team members and set permissions
- Test AI generation tools with sample prompts tied to your industry
- Duplicate and customize at least three templates using brand elements
- Practice exporting in both digital and print-optimized formats
- Review collaboration tools by inviting a test user for feedback
- Document any custom workflows for future reference
Advanced Magic Studio Techniques with Examples
Build on foundational AI use by chaining features together. Generate base layouts via Magic Design, enhance text through Magic Write, then apply animations with Magic Morph for dynamic social content. Example: Produce a complete product launch sequence starting from a single prompt that yields storyboards, captions, and animated clips ready for multiple channels.
Another technique involves using background remover combined with AI expand to create custom banners from existing photos. These methods prove especially useful for time-sensitive projects where rapid iteration is key.
Mistakes to Avoid in Canva Projects
Common errors include neglecting to lock the Brand Kit before sharing, leading to accidental changes by collaborators. Over-reliance on default templates without customization can result in generic-looking outputs that fail to stand out. Always double-check export dimensions against platform specifications to prevent cropping issues on social feeds.
Frequently Asked Questions
Why is my export blurry or low quality?
This often stems from using low-resolution source files or incorrect export settings. Always start with high-DPI uploads and select maximum resolution options during download.
How do I resolve color inconsistencies in printed materials?
Confirm your Brand Kit colors are applied uniformly and switch to CMYK mode for print exports. Test with a local printer for profile matching.
Can multiple users edit the same Brand Kit simultaneously?
Yes, with Pro features enabled, but establish clear guidelines to avoid conflicts during updates.
What file formats work best for animated social posts?
MP4 or GIF exports provide broad compatibility while maintaining smooth playback across devices.
How can I troubleshoot collaboration sync issues?
Refresh the browser or app, check internet stability, and ensure all participants have updated to the latest Canva version.
Conclusion
Implementing a structured approach to Canva's Brand Kit, AI capabilities, template workflows, and export processes in 2026 empowers users to achieve professional-grade results consistently. The techniques outlined here, supported by practical checklists and comparisons, provide a solid framework for ongoing success. Begin applying these methods to your next project to experience the full benefits of an optimized design system.
No comments yet. Be the first!