 NeoBit Daily
Introduction to Figma's Mobile App in 2026
Figma has revolutionized UI/UX design, and by 2026, its mobile app has evolved into a powerhouse for on-the-go creation. No longer just a viewer, the Figma mobile app now supports full-fledged design, prototyping, and iteration directly from your smartphone or tablet. This tutorial is perfect for beginners, walking you through essential tools like frames, auto-layout, components, and the exciting new AI features. Whether you're sketching app ideas during commutes or refining prototypes in meetings, Figma mobile empowers rapid workflows.
We'll cover practical examples, collaboration tips, and export options to streamline your app design process. Download the latest Figma app from your app store and let's dive in.
Getting Started: Setup and Interface Overview
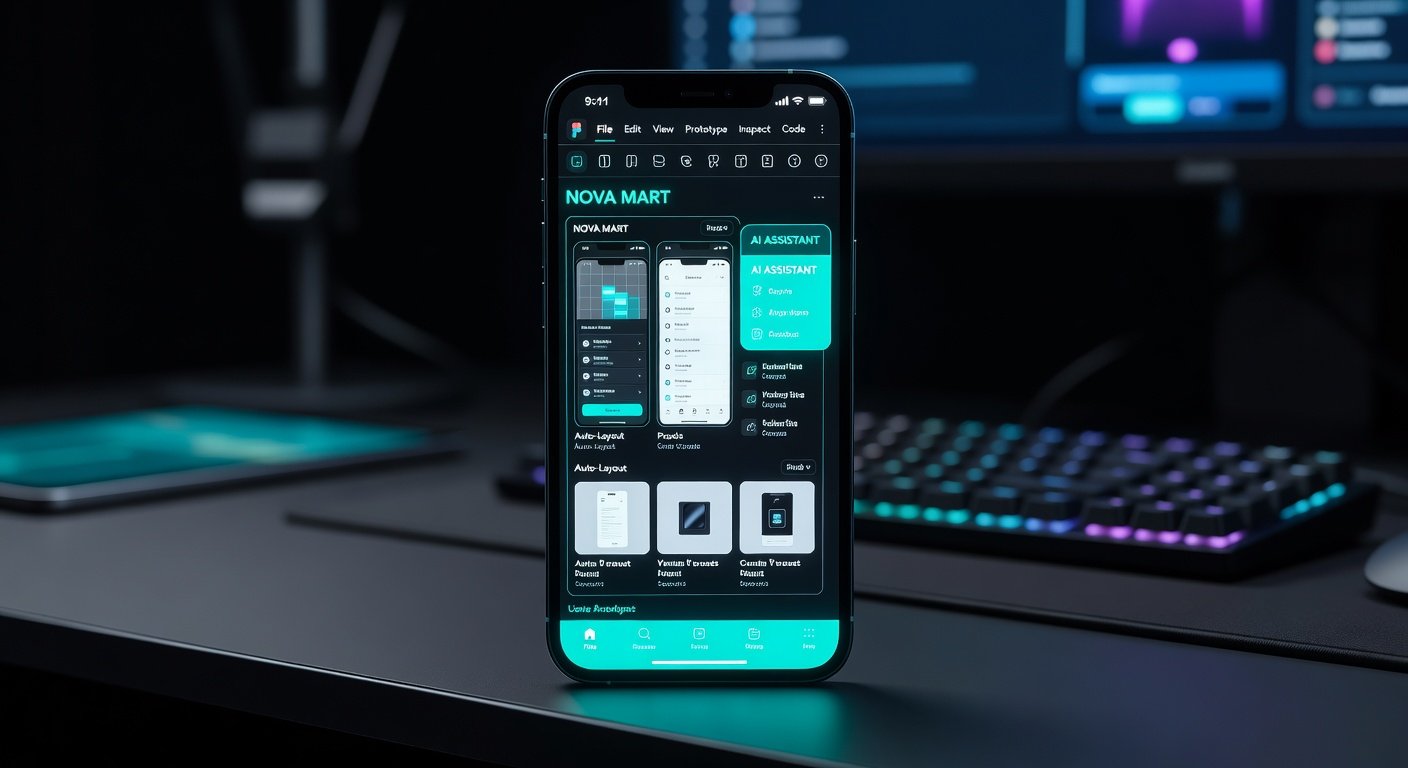
Launch the Figma mobile app and sign in with your account. The interface mirrors the desktop version but is optimized for touch: a clean dashboard shows recent files, teams, and a quick-start canvas.
- Create a New File: Tap the '+' icon, select 'Design file', and choose a frame preset like iPhone 16 or custom dimensions.
- Navigation Basics: Use the bottom toolbar for tools (move, frame, pen), layers panel on the side, and properties inspector at the top.
- Zoom and Pan: Pinch to zoom, two-finger drag to pan—essential for precise mobile editing.
Figma's mobile app supports cloud syncing, so your work is instantly accessible across devices. For official setup guides, check Figma's homepage.
Essential Tools: Frames, Auto-Layout, and Components
Working with Frames
Frames act as artboards for mobile screens. Tap the Frame tool (F icon), drag to create, and resize via handles. Nest frames for complex layouts like modals or navigation drawers.
- Tip: Double-tap a frame to enter isolation mode, focusing edits without distractions.
Auto-Layout Mastery
Auto-layout is a game-changer for responsive designs. Select elements, tap 'Auto-layout' in the properties panel, and set direction (horizontal/vertical), spacing, and padding.
Example: Build a card list. Create rectangles for cards, add text and icons, group with auto-layout (vertical stack, 16px spacing). Resize the parent frame—contents adapt automatically!
Creating and Using Components
Components ensure consistency. Select a button design, tap 'Create component' (diamond icon). To instance it, drag from assets panel.
Overrides: Swap icons or text in instances without breaking the master. Main variants for states (default, hover, pressed) via the variants panel.
New AI Features for Rapid Iteration
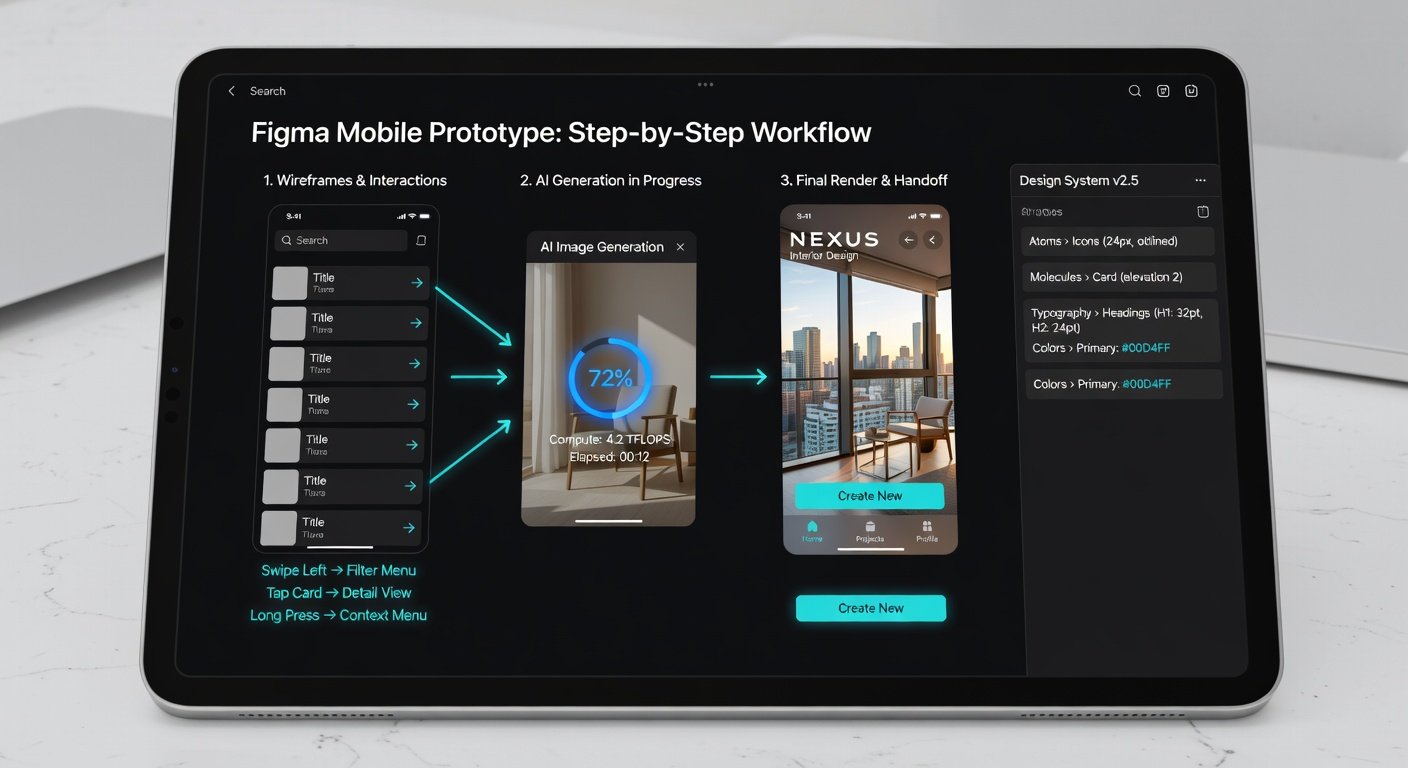
2026 brings AI magic to Figma mobile. Access via the AI wand icon in the toolbar.
- AI Image Generation: Describe 'minimalist login screen'—AI generates frames with layouts and placeholders.
- Smart Auto-Layout: Tap AI suggest; it optimizes spacing and alignment based on design patterns.
- Prototype Prediction: AI suggests interactions like 'tap button to next screen' from visual cues.
- Iteration Tools: 'Refine layout' analyzes and fixes inconsistencies, saving hours.
These features accelerate ideation. For more on Figma AI, visit the Figma Help Center.
Practical Example: Building an Interactive E-Commerce Prototype
Let's prototype a shopping app home screen step-by-step.
- Frame Setup: Create iPhone frame (390x844px). Add background gradient.
- Header with Auto-Layout: Group logo, search bar, cart icon (horizontal, 24px spacing).
- Product Grid: Use auto-layout frame (vertical), nest horizontal rows of image-text-price stacks.
- Components: Turn product card into component; duplicate for grid.
- AI Assist: Generate product images with 'colorful sneakers' prompt.
Now prototype: Switch to prototype mode (play icon). Drag connections—tap product to detail screen. Add micro-interactions like scale on tap.
Test on device: Tap preview to interact in real-time.
Collaboration Tips for Teams
Figma shines in multiplayer editing.
- Invite Collaborators: Share file link, set permissions (view/edit/comment).
- Live Comments: Pin notes on canvas; @mention teammates.
- Branching: Create branches for experiments without risking main design.
- Mobile-Specific: Use voice-to-text for quick comments during walkthroughs.
Pro Tip: Enable presence indicators to see cursors in real-time sessions.
Export Options to Elevate Workflows
Export assets seamlessly:
- Images/SVGs: Select layers, tap export panel—PNG, JPG, SVG at 1x/2x/3x.
- Prototypes: Share interactive link or export as PDF/video.
- Code Snippets: Copy CSS/iOS/Android code from inspector.
- Dev Handoff: Use inspection mode for specs (colors, sizes, spacing).
Integrate with tools like Zeplin or directly hand off via Figma's dev mode.
Advanced Tips and Best Practices
To pro-level your skills:
- Keyboard shortcuts (even on mobile via external keyboard): Cmd+D duplicate, Cmd+G group.
- Custom plugins: Install via community tab for mobile-optimized extensions.
- Performance: Use vector edits over raster for crisp exports.
- Accessibility: Check contrasts with built-in tools; AI suggests fixes.
Stay updated via Figma's blog for 2026 features.
Conclusion
Figma's 2026 mobile app democratizes professional UI design. From frames and auto-layout basics to AI-powered iteration, you've got the tools for prototypes that impress. Practice with the e-commerce example, collaborate freely, and export polished assets. Start designing today—your next app breakthrough is just a tap away!

No comments yet. Be the first!